Engraving
Visiting Artist Karla Hackenmiller will conduct a workshop in the technique of HIPS engraving. HIPS stands for "High Impact PolyStyrene". It's a hard plastic that we will use to engrave lines into without acid. It works a lot like copper engraving, but is cheaper and easier to work with. Your finished plates may be printed either intaglio or relief.
Sketch ideas
Start by drawing some sketches with a fine point ink pen in your sketchbook. Pay attention to the variety of hatching and cross-hatching that is possible. You should finish at least three different drawings as homework (outside of class). Class time should be reserved for working on the actual plates.
Engrave your plate
File your plate's edges, transfer your drawing, and engrave the lines.
Proof and print states
Print the plate on dampened paper. Keep the edges as clean and neat as possible.
Repeat the process to make certain lines heavier, or to add more lines. Keep going until you are satisfied with the results.
Print one Artist's Proof
Use an acetate pattern and clean hands, gloves, tongs or a printing partner to print at least one print with black ink on white or off-white paper. All prints must be clean and neat, with no crooked borders, smudges, or fingerprints.
Print the color variations
Experiment with a variety of methods to make color etchings, including at least 5 of the following:
stencils
a la poupee
double printing
ghost printing
collage
selective wiping
complementary color
analagous color
Feel free to "double up" on some of these. For instance, you may use stencils and complementary color on one, and use double printing, collage, and analagous color on another.
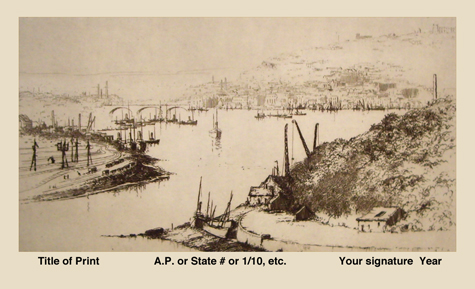
Sign your prints
Use the image below to see the correct placement of signing.
Rules for signing prints:
These rules apply to all fine art prints, not just these etchings. All work submitted for a grade must be signed correctly.
Sign prints with pencil ONLY! No pens, sharpies, etc.
If the print is untitled, leave that area blank. Don't write "untitled". This means the title of the print is "untitled". You should avoid this whole issue and just make a up a title for each print. It makes life easier.
Only sign finished work. Don't sign proofs or prints that aren't up to snuff. Save them for collage, recycle, or trash them, but dont' sign them. Signing the print means you approve of the image.
Include ONLY the year of creation, not the month or day.
You may write out the words Artist Proof, or Trial Proof, or just use the abbreviations.
You may flip-flop the placement of the edition number and the title if you like, or even put them both on the back, but always leave the signature and year on the bottom right. However you decide to do it, make it consistent.
If the image goes all the way to the edge of the paper, sign in the image. If not, sign in the margin.
Be neat.
SPELL EVERYTHING CORRECTLY!!